Creating a New Project

As a teacher you are able to build school projects into the software for assessing your studentsThe following step-by-step process should be followed when setting up a new project: 

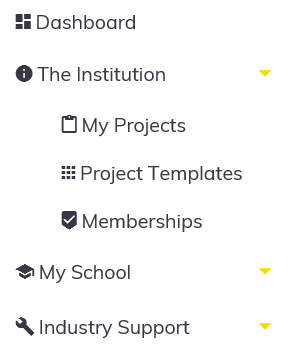
To begin the project creation process, you must first navigate to the ‘My Projects’ page. This can be found under ‘The Institution’ section of the menu bar, or by clicking here.

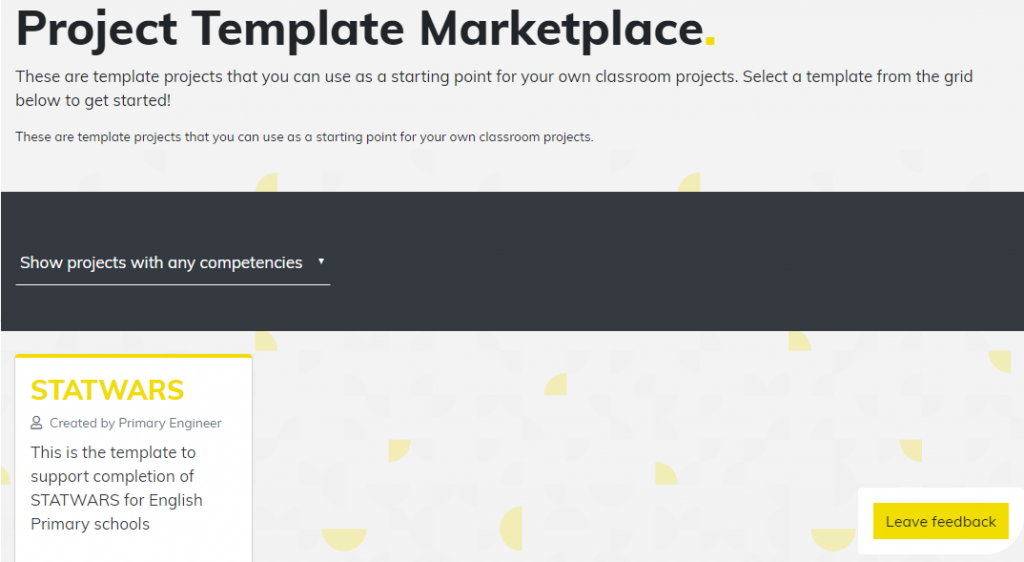
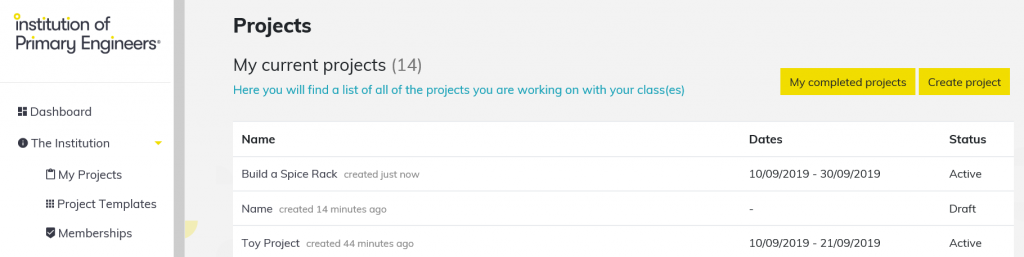
You will find yourself now in the ‘Projects’ section, here you can gain an overview of all your current active and draft projects. You can also view completed projects by clicking on the ‘My completed projects’ button. When creating a a new project, click the ‘Create project’ button to progress to the next stage. (Note: creating a new project can also be achieved via the ‘Create project’ icon on the Dashboard.)

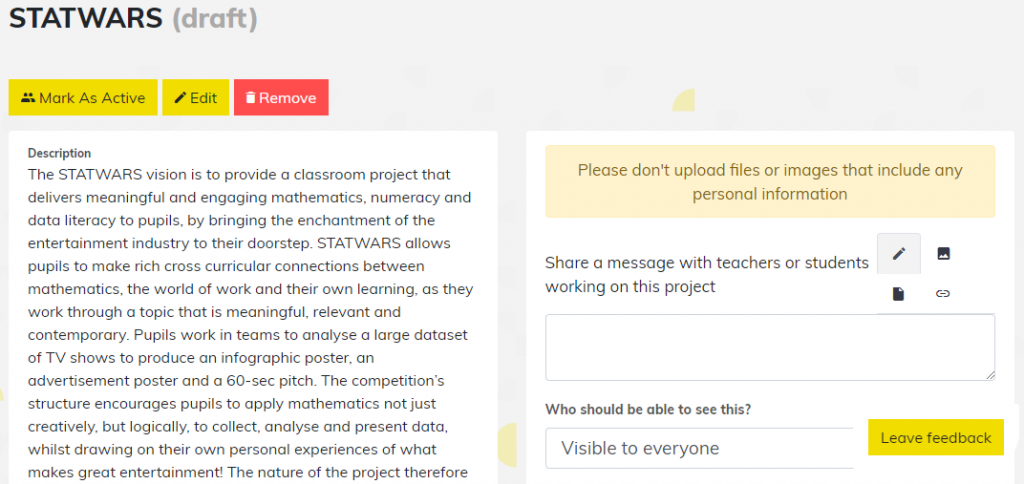
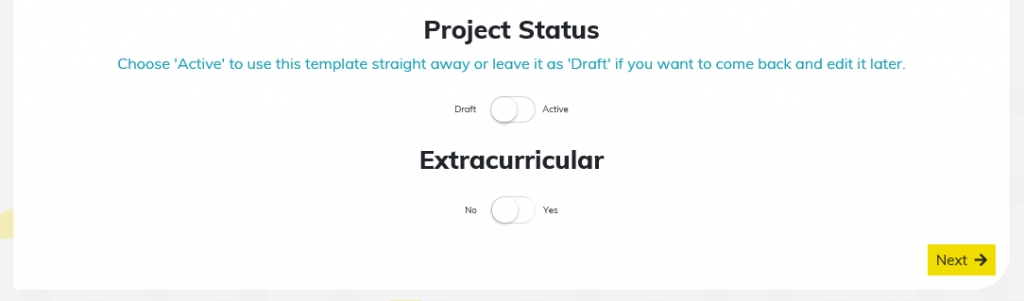
Now complete the fields as appropriate for your project, making sure to mark the status as active or draft depending on whether you want to publish it immediately. If your project is extracurricular you can set this here too. Once you have added all of the project details click the ‘Next’ button to progress. 

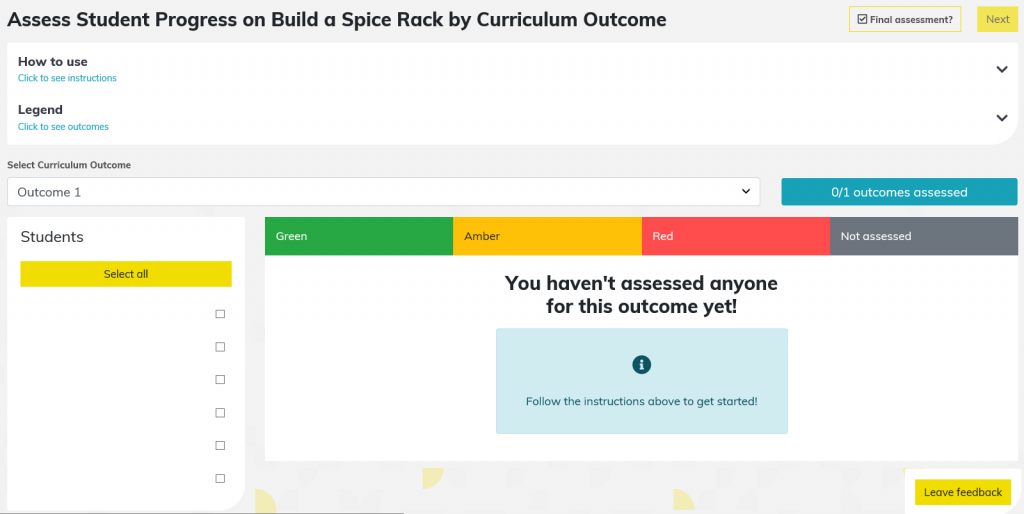
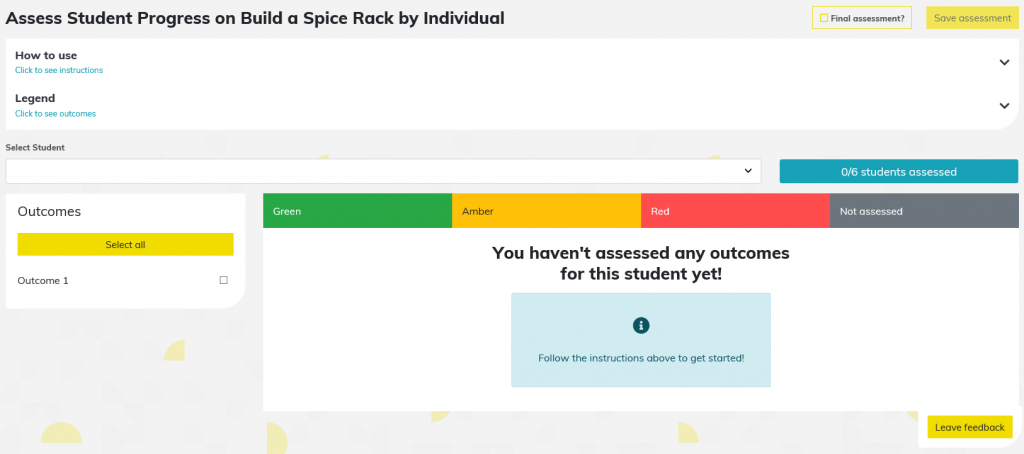
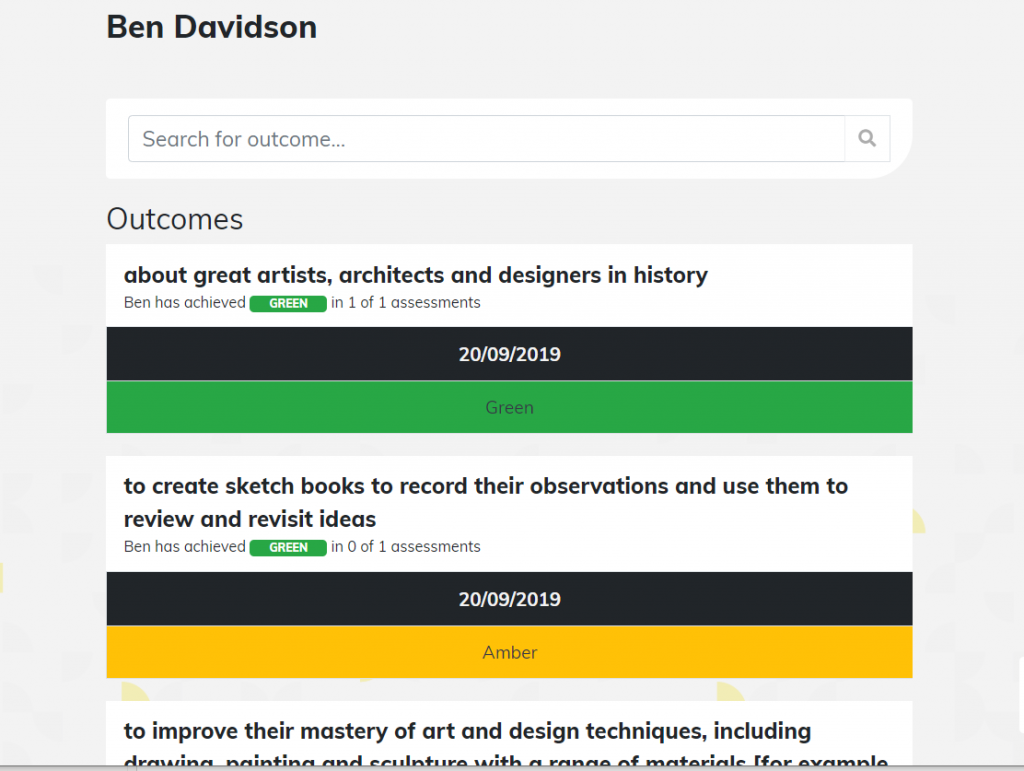
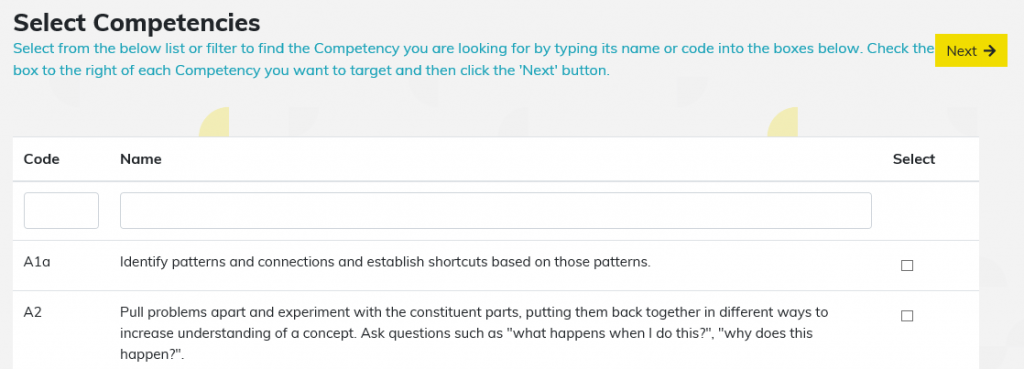
Over the next two pages you will be able to select the outcomes and competencies relevant to your project. These will be what you are assessing your students against, so please make sure they are tangible objectives in line with the project (you can however return and edit these later). Navigating between these pages is achieved by clicking the ‘Next’ button and note that you may have to use the horizontal scroll function to select your outcomes/competencies. 

The final (optional) step is to invite relevant teachers at your school to engage with the project, once you have shared with those involved click ‘Complete Project Creation’ to finish. If you don’t want to share your project at this stage simply click ‘Complete Project Creation’.

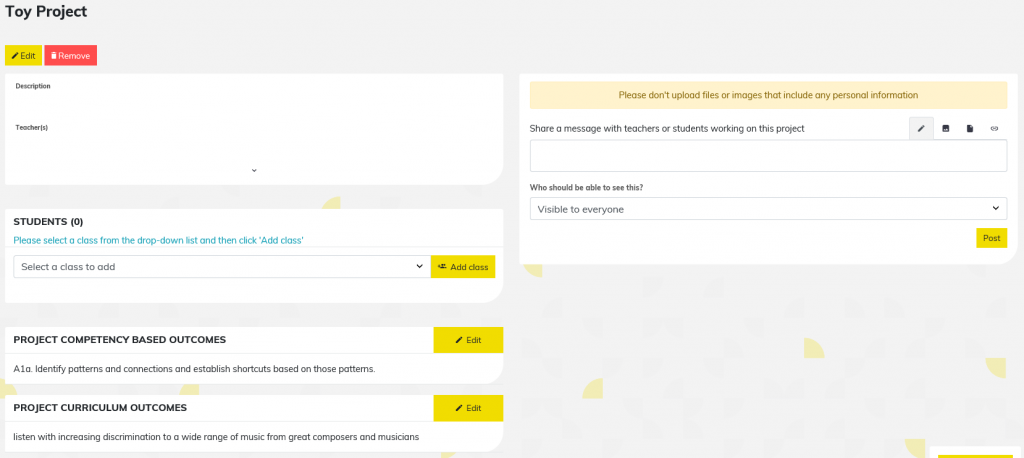
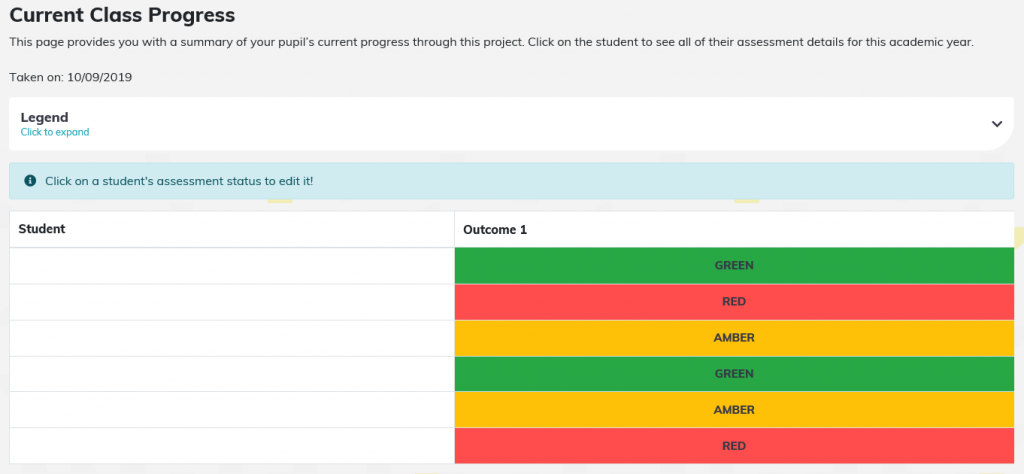
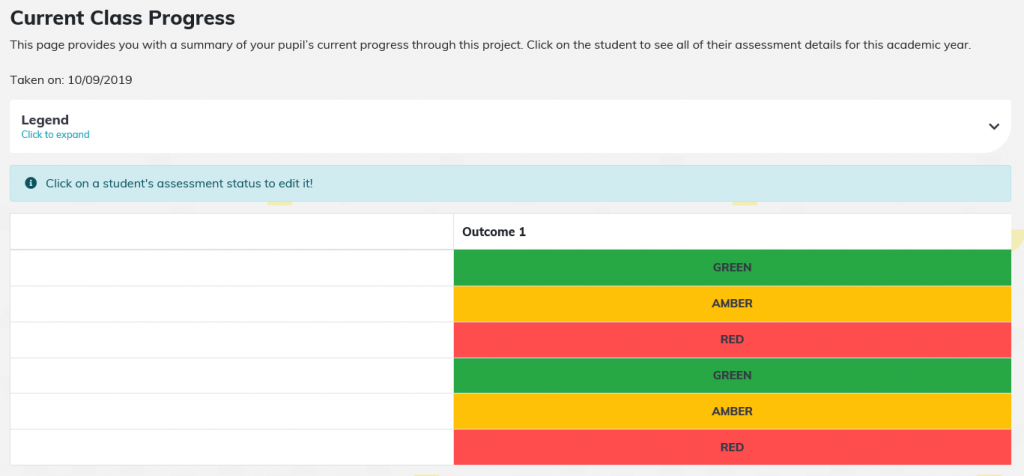
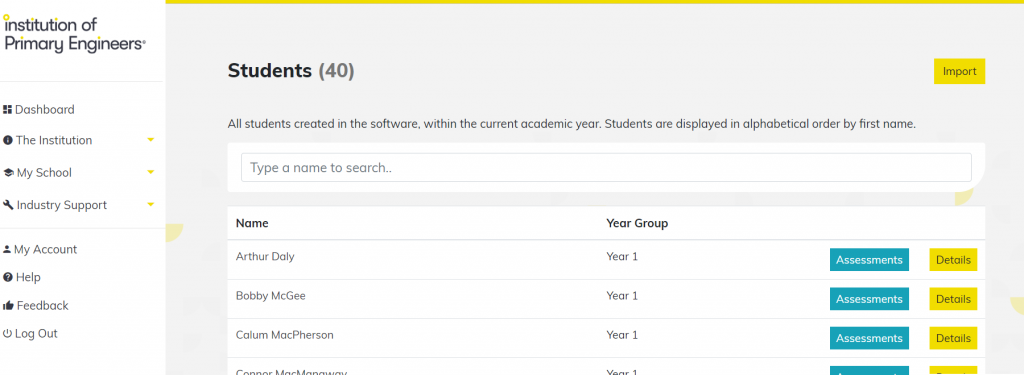
The project has now been created, and you will find yourself on an overview page for the project. Here you can: bring students into the project via the ‘Select a class to add’ drop down menu; amend the competencies/outcomes; share relevant info with associated teachers/students; and edit the project details as required. This overview page can be found for any active or draft project via the ‘Projects’ page.

Project Template Marketplace

When creating projects as a teacher, it is often faster to build your project from a pre-made template rather than from scratch. You also might find some inspiring new project ideas in this section. The following step-by-step process should be followed when building a project from a template:

To begin you must first navigate to the ‘Project Templates’ page. This can be found under ‘The Institution’ section of the menu bar, or by clicking here.

You will find yourself now in the ‘Projects Templates Marketplace’, here you can gain an overview of all of the project templates that you, other teachers and the OneDotAll team have uploaded. You can sort the templates to match specified competencies, and once you have found a suitable template simply select it to proceed.

You will now have a more detailed overview of your chosen template, further defining its suitability. From here you can either return to the templates marketplace, or if you are happy with the template click on ‘Create this project’.

You will find yourself in the active/draft project overview page, where the now active/draft project can be further refined regarding the outcomes/competencies, student enrolment, etc. See the ‘Create a New Project’ guide for further details.

Assessing your Students

Having created and run your project, allocating it the appropriate competencies and/or outcomes in line with the national curriculum within the software (see the ‘Creating a Project’ guide), you are now in a position to assess your students’ progress through the project. This is achieved using the traffic light method, giving you the option to score the students as: 

  • Green: Exceeded expectations and achieved outcome/competency on multiple occasions
  • Amber: Achieved project outcome/competency to the minimum expected standard
  • Red: Not achieved or still working towards outcome/competency

You can assess students individually or as a class, as per the following instructions. The guide will show you how to assess against competencies and outcomes, but you can refer to the relevant sections, depending on your own project requirements.

To begin you must first navigate to the overview page for the project you are marking against. This can be found under ‘The Institution’ > ‘Projects’ section of the menu, followed by selecting the project you are assessing (‘Build a Spice Rack’ in this example).

Once in the project overview page, you can proceed to the assessments page by clicking the ‘Assessments’ button.

Once in the assessments overview page, you have the option to create a new assessment via the ‘+ New Assessment’ icon. This gives you the option to assess your students on an outcome or student focussed basis. Select the icon most applicable to your needs, you are welcome to try out both methods here – we are keen to hear your feedback on what works best! Please email us at [email protected] if you have any thoughts on this.

Outcome Focussed: 

On the ‘Outcome focussed assessment’ page you can follow the step-by-step instructions (to expand these please click the ‘How to use’ link) to assess your students according to the selected outcome, using the ‘Legend’ icon to refresh your memory of the outcome details. If this is the final project assessment then check the ‘Final assessment?’ box. This will change the ‘Save assessment’ icon to read ‘Next’, and progress you to a new page assessing your student’s project competencies. This competency assessment page is set out identically to the outcome assessment page. Once complete select the ‘Save assessment’ icon.


Once the assessment has been saved, you will find yourself on the ‘Current Class Progress’ page. This gives you a general overview of your class’s current progress, allowing you the option of editing this, by selecting the outcome grade itself. If this is your final assessment this will highlight the final project attainment for your students.

Student Focussed:

On the ‘Assess Student Progress’ page you can follow the step-by-step instructions to assess your students individually according to the selected outcome (to view instructions please click the ‘How to use’ link), using the ‘Legend’ icon to refresh your memory of the outcome details. If this is the final project assessment then check the ‘Final assessment?’ box. This will change the ‘Save assessment’ button to read ‘Next’, and progress you to a new page assessing your student’s project competencies. This competency assessment page is set out identically to the outcome assessment page. Once complete click the ‘Save assessment’ button. 

Once the assessment has been saved, you will find yourself on the ‘Current Class Progress’ page. This gives you a general overview of your class’s score per outcome, and also gives you the option to edit by selecting the outcome score itself.

If this is the “final assessment” then you will be taken to a page that then allows you to share the project with other teachers, on the Project Template Marketplace.

After a “final assessment” you can see an overview of how each of your students is progressing, against curriculum outcomes or competencies. To access this page you should navigate to My School and then Students, in the left hand menu, or by clicking here.

You will then see the Students page, showing you a lit of all of the students at your school:

From here you can click on the “Assessments” button to view the progress overview for each student. Note: If you have not completed any ‘final assessments’ for any of your projects then the following screen will be blank. If you have completed at least one ‘final assessment’ for a project that your chosen student is participating in then you will be shown an overview of their progress, like this: